- Knowledge Base
- Cost Plus
- Guides
How to mark a cost code as non-billable
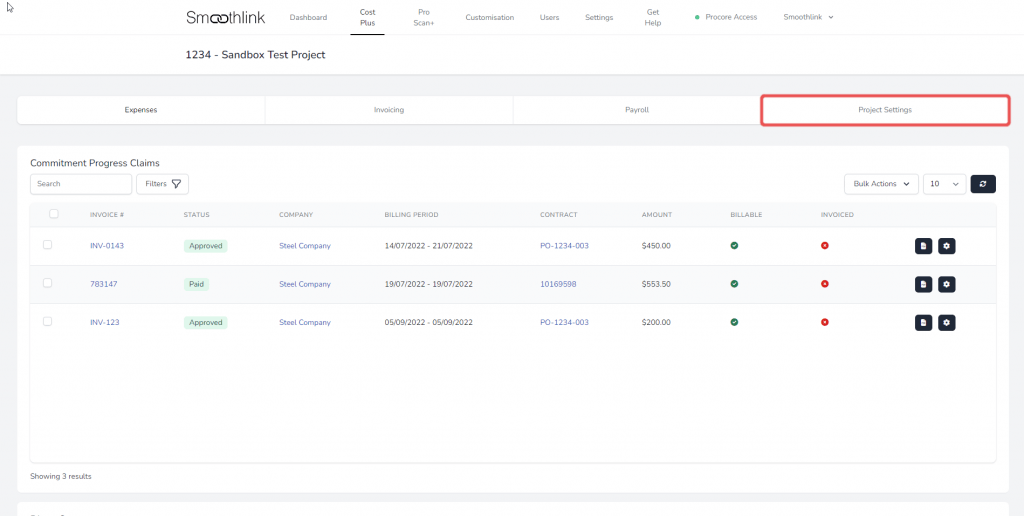
First select an activated project in Cost Plus:

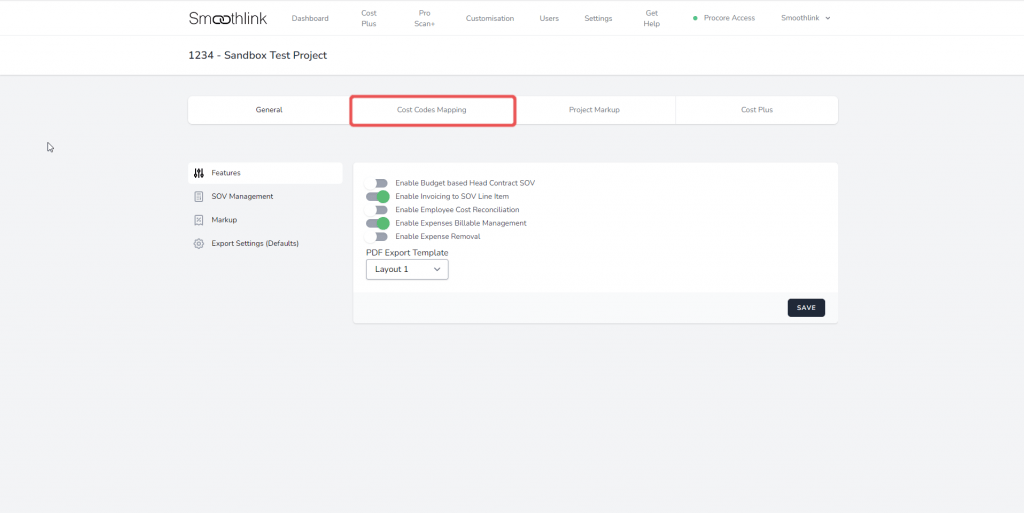
Then go to your selected project’s Project Settings:
Then select Cost Code Mapping:
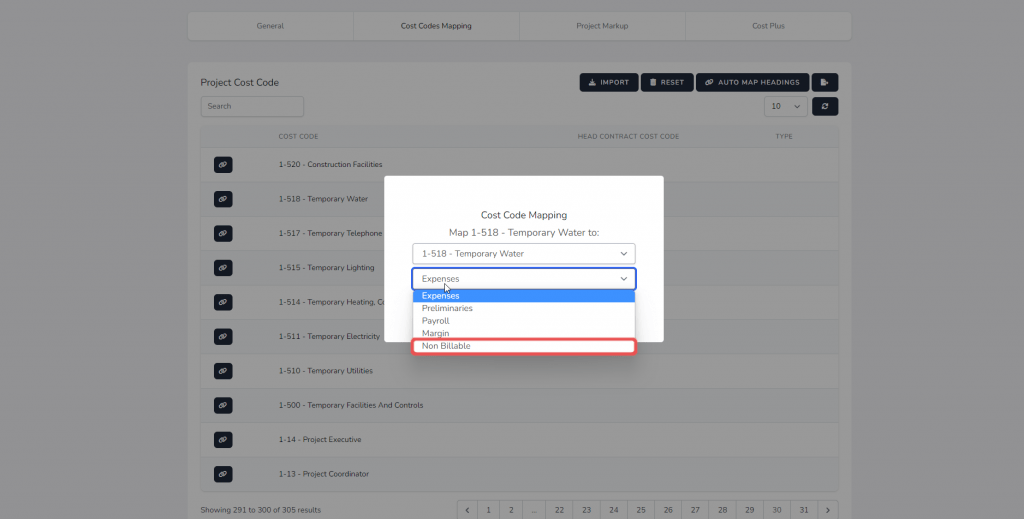
In order to mark a cost code as Non-Billable, you will need to map the Project Cost Code to the exact same Head Contract Cost Code. First, select the cost code’s map button:

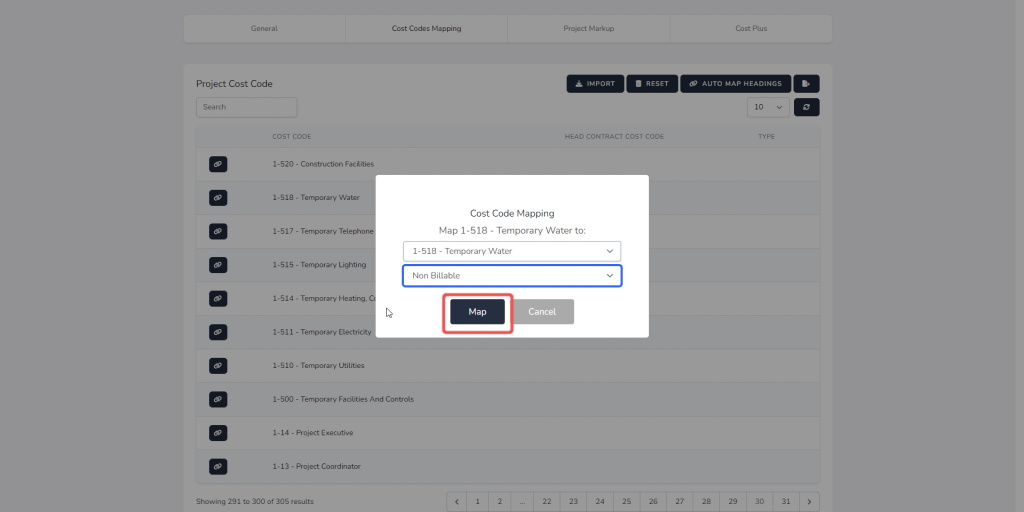
Then, in the Cost Code Mapping section, make sure the Project Cost Code is mapped to the identical cost code for the Head Contract:

Then, in the second dropdown section in the Cost Code Mapping section, select “Non-Billable” for this Cost Code:
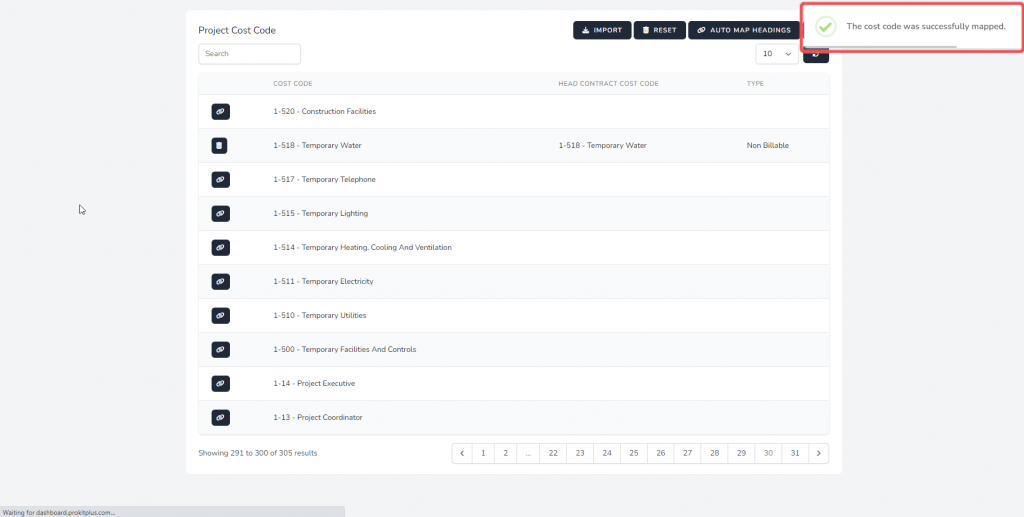
Then select the Map button to mark this cost code as Non-Billable:
You will then see a dialogue showing the status of the mapping: