
Manage Your Procore & Xero Contacts
Map, Delete or Import/Export your Procore and Xero Contacts
- Refresh Procore & Xero Contacts
- View Contact in Procore or Xero
- Auto Map Procore & Xero Contacts
- Add Contact to Procore or Xero
- Delete Mapped Contacts
- Import / Export Contact Mapping
Access Mapping Contacts
- Login to your Smoothlink Integration
- Navigate to Mapping
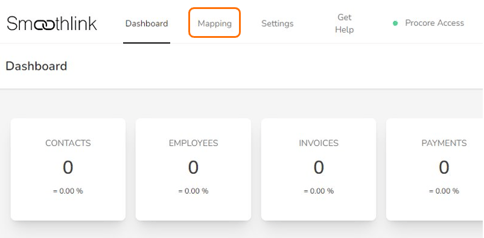
- Scroll down to the Contacts mapping table

Refresh Procore & Xero Contacts
NOTE: You will need to Refresh both Procore and Xero Contact lists prior to any mapping.
This ensures the most recent data from Procore and Xero is available in Smoothlink.
- Select the Procore Contacts tab
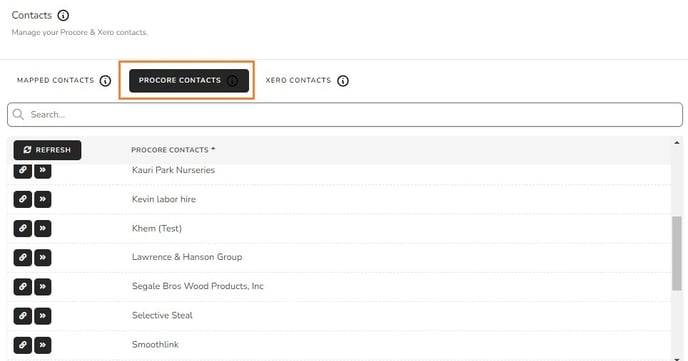
2. Click Refresh - This ensures the Contact list is current

3. Repeat Steps 1 & 2 with the Xero Contacts tab
View Contact in Procore or Xero
1. Select the Procore or Xero Contacts tab
2. Click the View (eye) button to see Contact details inside Procore or Xero

Auto Map Procore & Xero Contacts
Auto Map will connect Procore and Xero Contacts that have matching names.
For Contacts not connected using Auto Map, See Mapping Individual Procore & Xero Contacts.
1. Select the Mapped Contacts tab
2. Click the Auto Map button

3. Click Let's Go

You will receive a confirmation pop-up and can now see the contact under the Mapped Contacts tab.
Mapping Individual Procore & Xero Contacts
NOTE: You can start from either the Procore or Xero tab.
1. Select the Procore or Xero Contacts tab
2. Click the Chain Link button

3. Select the matching Procore/Xero Contact from the pop-up
4. Click Map

You will receive a confirmation pop-up and can now see the contact under the Mapped Contacts tab.
Add Contact to Procore or Xero
1. Select the Procore Contacts or Xero Contacts tab
2. Locate the Contact (Use the Search field)
3. Click the Add Arrow icon

3. Confirm Sync

You will receive a confirmation pop-up and can now see the contact under the Mapped Contacts tab.
Delete Mapped Contacts
1. Select the Mapped Contacts Tab
2. Locate the Contact (Use the Search field)
3. Click Delete icon (Trash Can)

3. Client Delete to confirm

Import / Export Contact Mapping
You can bulk-import Procore and Xero Contacts using a CSV spreadsheet.
This will populate the Mapped Contacts tab.
1. Select the Mapped Contacts Tab
2. Click Import/Export icon

3. Select Import Mapping or Export Mapping

Import Mapping
4. Click Choose File and select CSV spreadsheet
5. Click Let's Go

Export Mapping
4. Click Let's Go
